Quick Start
You can download the PixelFS binary from Releases and select the version suitable for your operating system and architecture.
Installing PixelFS
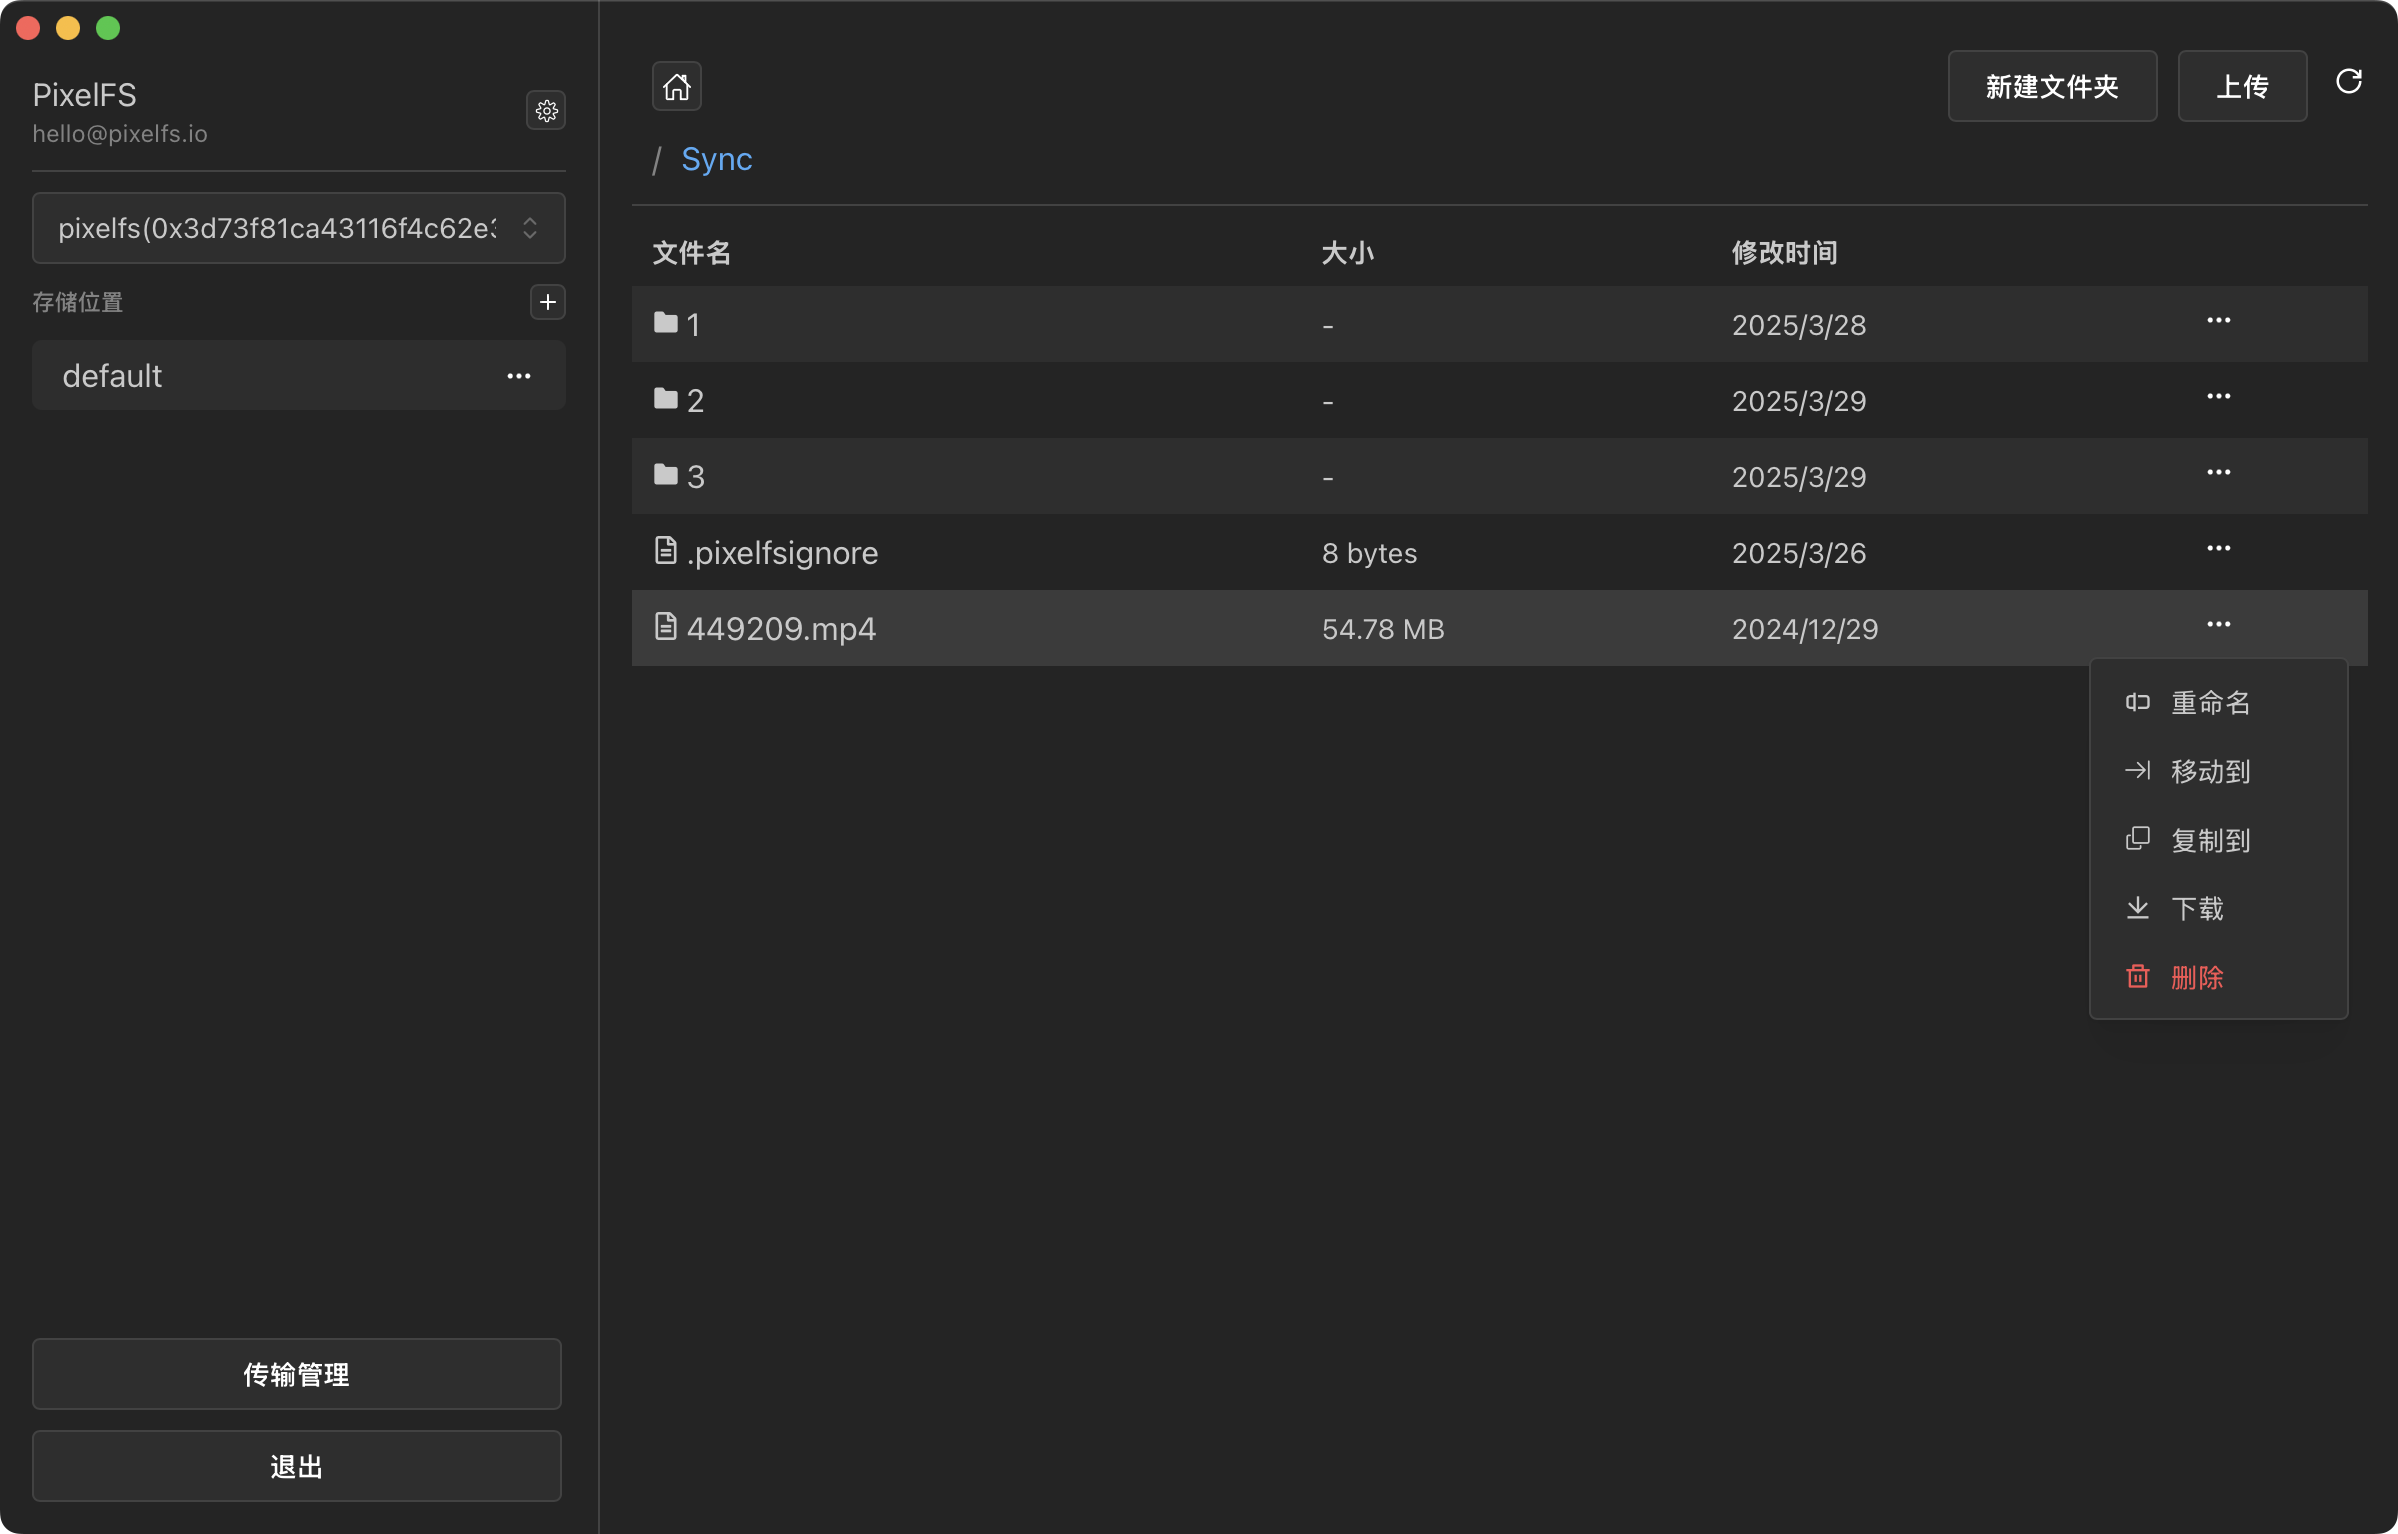
Desktop Version (GUI) Download
Go to PixelFS Desktop to download the desktop version of PixelFS.


Command Line Installation
Ubuntu/Dedian
# Download the PixelFS binary (choose the version as needed)
wget https://github.com/pixelfs/pixelfs/releases/download/v1.1.4/pixelfs_1.1.4_linux_amd64.deb

# Install PixelFS
sudo dpkg -i pixelfs_1.1.4_linux_amd64.deb

# Start the PixelFS service (run in user mode)
systemctl --user start pixelfs
systemctl --user enable pixelfs

# Enable lingering session so that the user's services remain running even after the user logs out
loginctl enable-linger
CentOS/RHEL
# Download the PixelFS binary (choose the version as needed)
wget https://github.com/pixelfs/pixelfs/releases/download/v1.1.4/pixelfs_1.1.4_linux_amd64.rpm

# Install PixelFS
sudo rpm -i pixelfs_1.1.4_linux_amd64.rpm

# Start the PixelFS service (run in user mode)
systemctl --user start pixelfs
systemctl --user enable pixelfs

# Enable lingering session so that the user's services remain running even after the user logs out
loginctl enable-linger
MacOS
# Install PixelFS using Homebrew
brew tap pixelfs/tap
brew install pixelfs

# Start the PixelFS service
brew services start pixelfs
Manual Installation
- Go to Releases and download the
PixelFSbinary suitable for your operating system and architecture. - Extract the downloaded file and move the extracted binary to a system path (e.g., /usr/local/bin) or add its directory to your system’s PATH environment variable.
mv pixelfs /usr/local/bin/
chmod +x /usr/local/bin/pixelfs- Start the PixelFS daemon (optional):
pixelfs daemonWARNING
If the daemon service is not started, PixelFS will not manage files on this device.
Login
Command: pixelfs auth login
After running the command, the terminal will output a login URL, for example:
To authenticate, Please visit:

    https://www.pixelfs.io/auth/cli/d9e5ccb055924bc4d0801a56524766d52f0c26397e9f431abb19ada6be9c16df

Waiting for session...
Login steps:
- Copy the generated login URL.
- Open the URL in a browser and follow the instructions to complete the login process.
- Once logged in, the terminal will automatically complete authentication and be ready for use.
Add a Storage Location
Command: pixelfs location add
pixelfs location add \
    --node-id=0x29e3abdb587207dc4ac9c708670eefde717ef307 \
    --path=/path/to/data \
    --name=location-data
Parameter descriptions:
--node-id: Node ID, identifies the storage node.--path: Path to store data. PixelFS will manage files within this path.--name: Name of the storage location, must be unique within the same node for easier identification and management.
TIP
You can use pixelfs id to view the Node ID.
Add S3 Storage Information
Command: pixelfs storage add
pixelfs storage add \
	--type=s3 \
	--region='auto' \
	--endpoint='https://xxxxxx.r2.cloudflarestorage.com' \
	--bucket='pixelfs' \
	--access-key='accessKeyId' \
	--secret-key='secretAccessKey'
Parameter descriptions:
--type: Storage type, currently only s3 is supported.--region: Storage region, auto means automatic selection.--endpoint: Access URL of the storage node.--bucket: Name of the storage bucket.--access-key: Access Key ID.--secret-key: Secret Access Key.
Link S3 Storage to a Node
Command: pixelfs storage link add
pixelfs storage link add \
    --node-id=0x29e3abdb587207dc4ac9c708670eefde717ef307 \
    --storage-id=fe0dc5d1-da9f-41e0-a243-3b2582fc3501
TIP
You can use pixelfs storage ls to view the added storage IDs.
Commands
Command: pixelfs ls
Command: pixelfs cd 0x29e3abdb587207dc4ac9c708670eefde717ef307
$ pixelfs ls
drw-------    - pixelfs 14 Jan 03:01 0x29e3abdb587207dc4ac9c708670eefde717ef307 ONLINE PIXELFS-NODE
Congratulations!
You’ve successfully completed the PixelFS Quick Start Guide 🎉. You can now manage your files efficiently.
For more commands, run pixelfs --help or simply type pixelfs to explore available options.
